ikea play kitchen hack
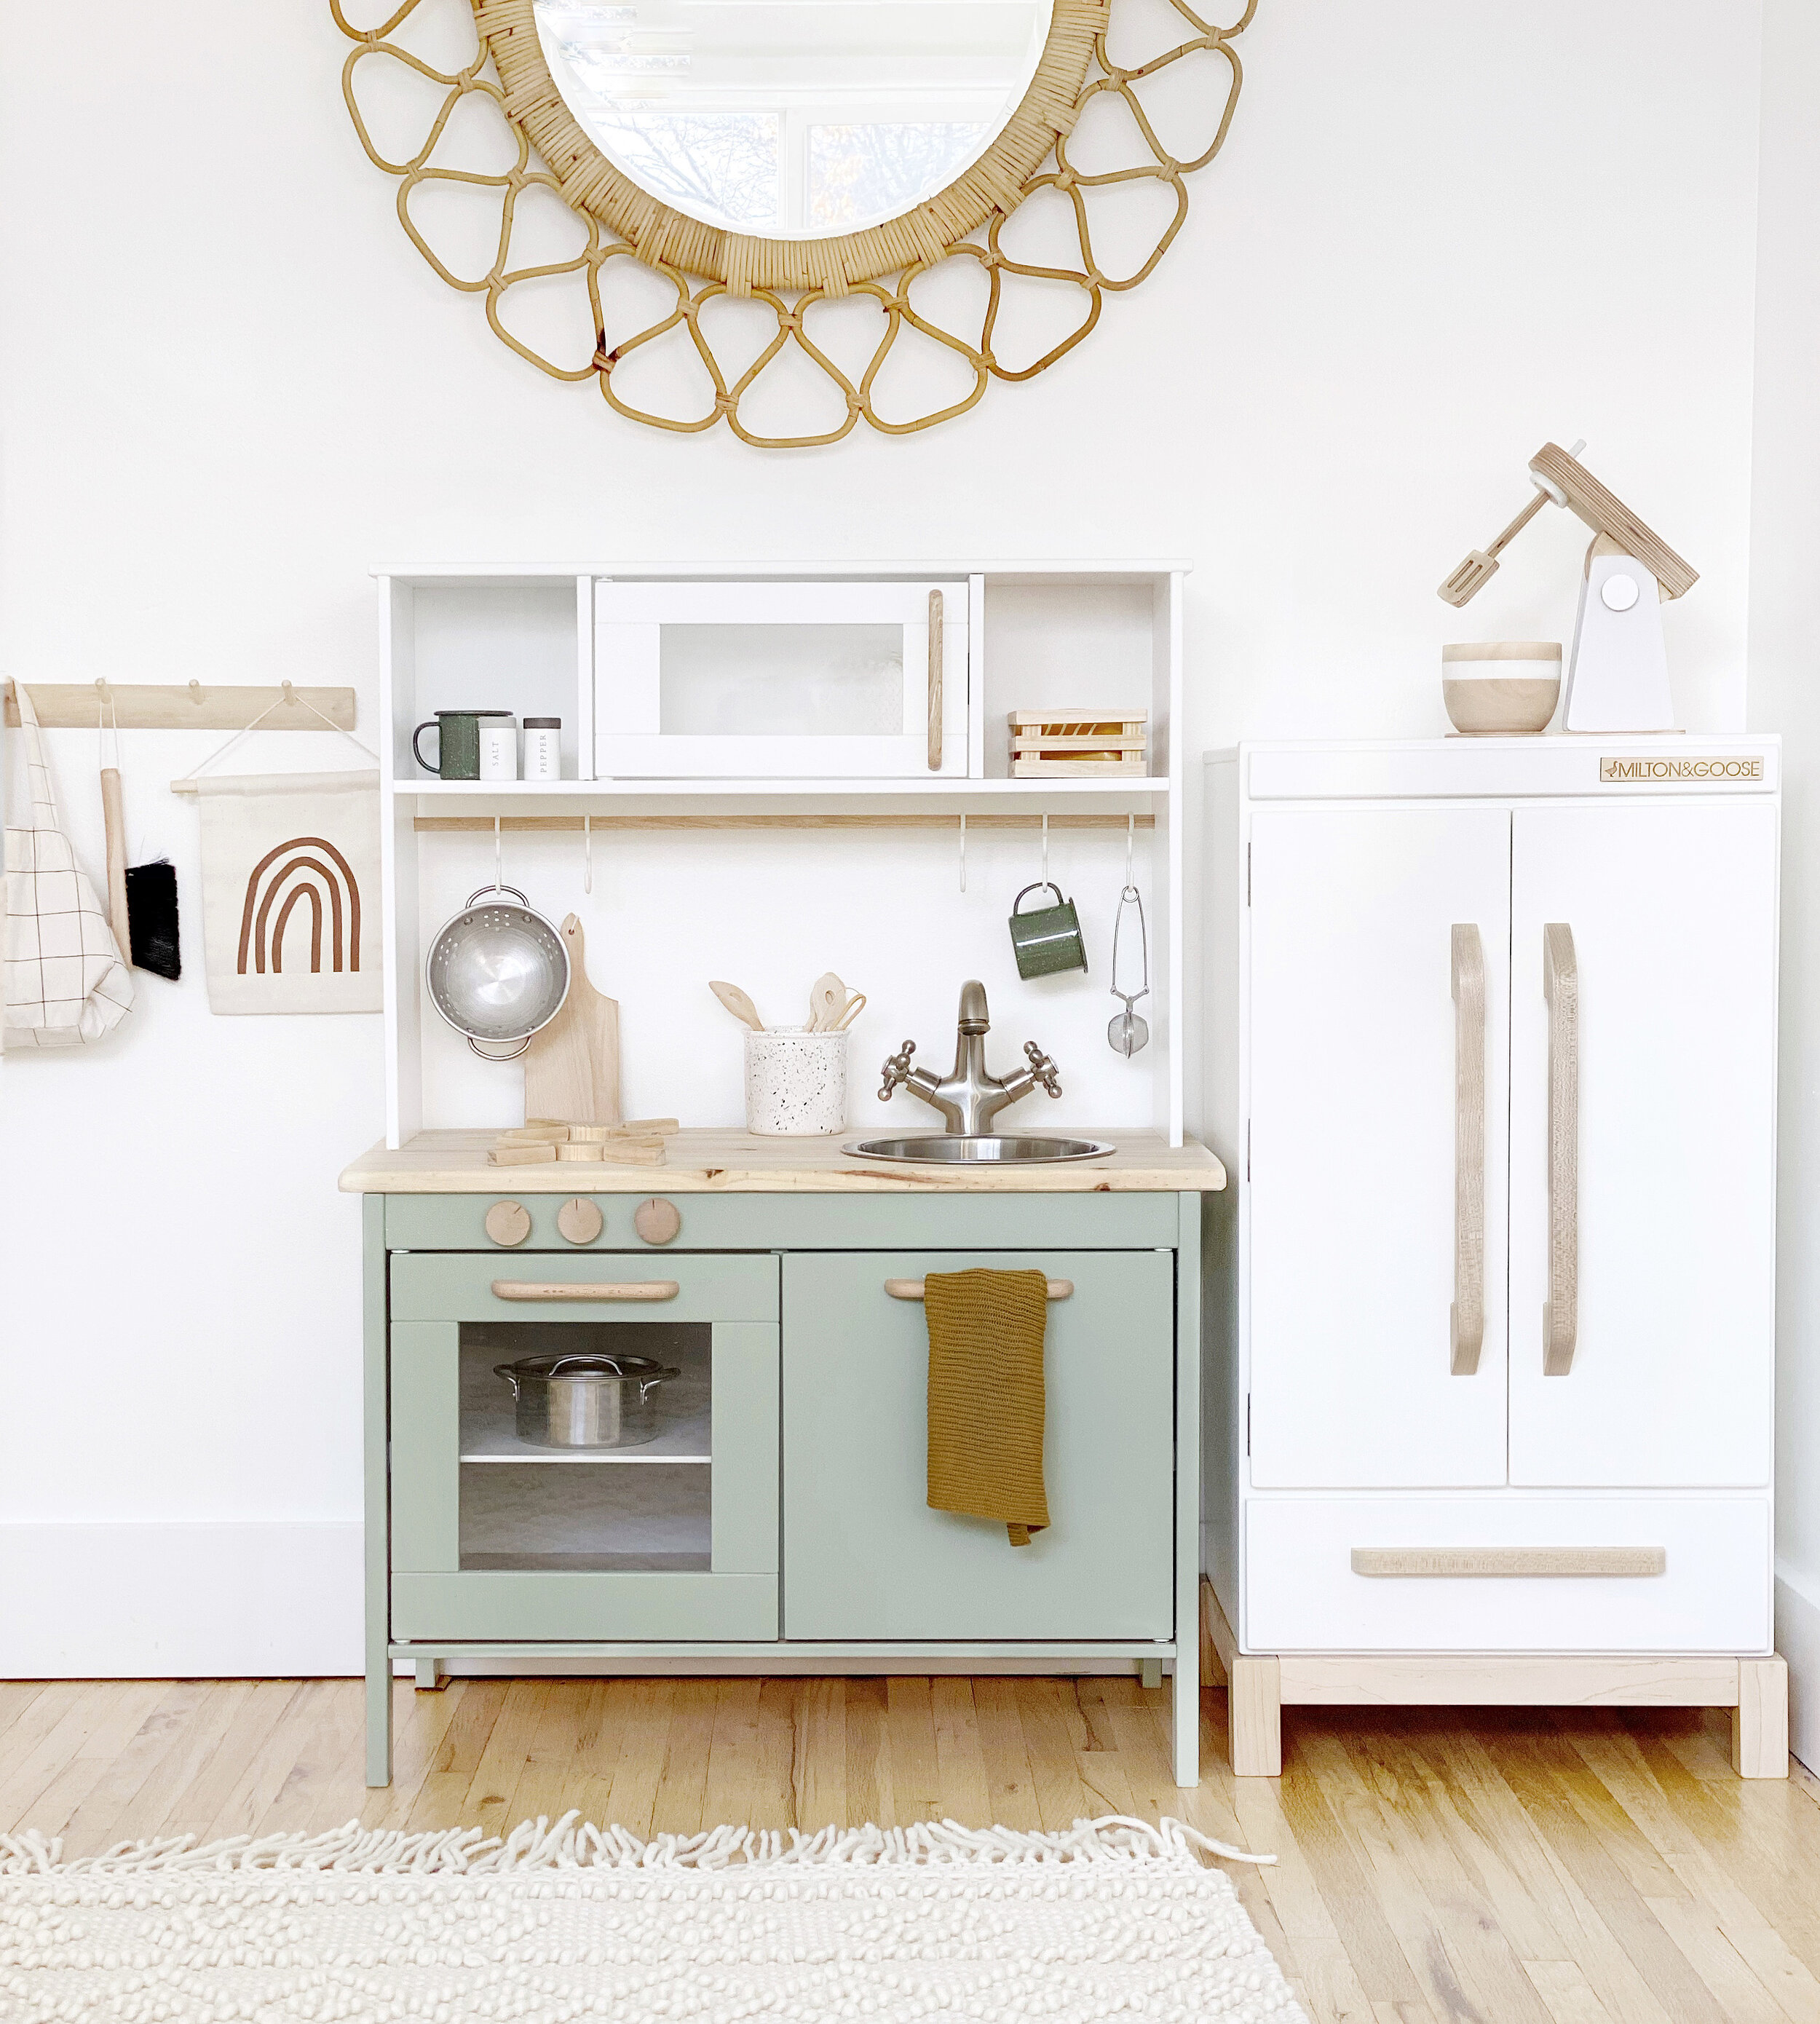
I am so so excited to finally be sharing the details of the play kitchen with you guys! Story has had the kitchen for a few weeks now and is still completely obsessed every day. The months of work was worth it for her reaction. If you don’t follow me on instagram or haven’t been following the kitchen stories, I was only able to work on the kitchen at night after Story had gone to bed. I wanted it to be a complete surprise. While I didn’t take the greatest photos during the DIY (bad lighting at night) but i was documenting every step of the way in my kitchen highlight on Instagram. Be sure to check that out if you don’t find the answers you’re looking for here!
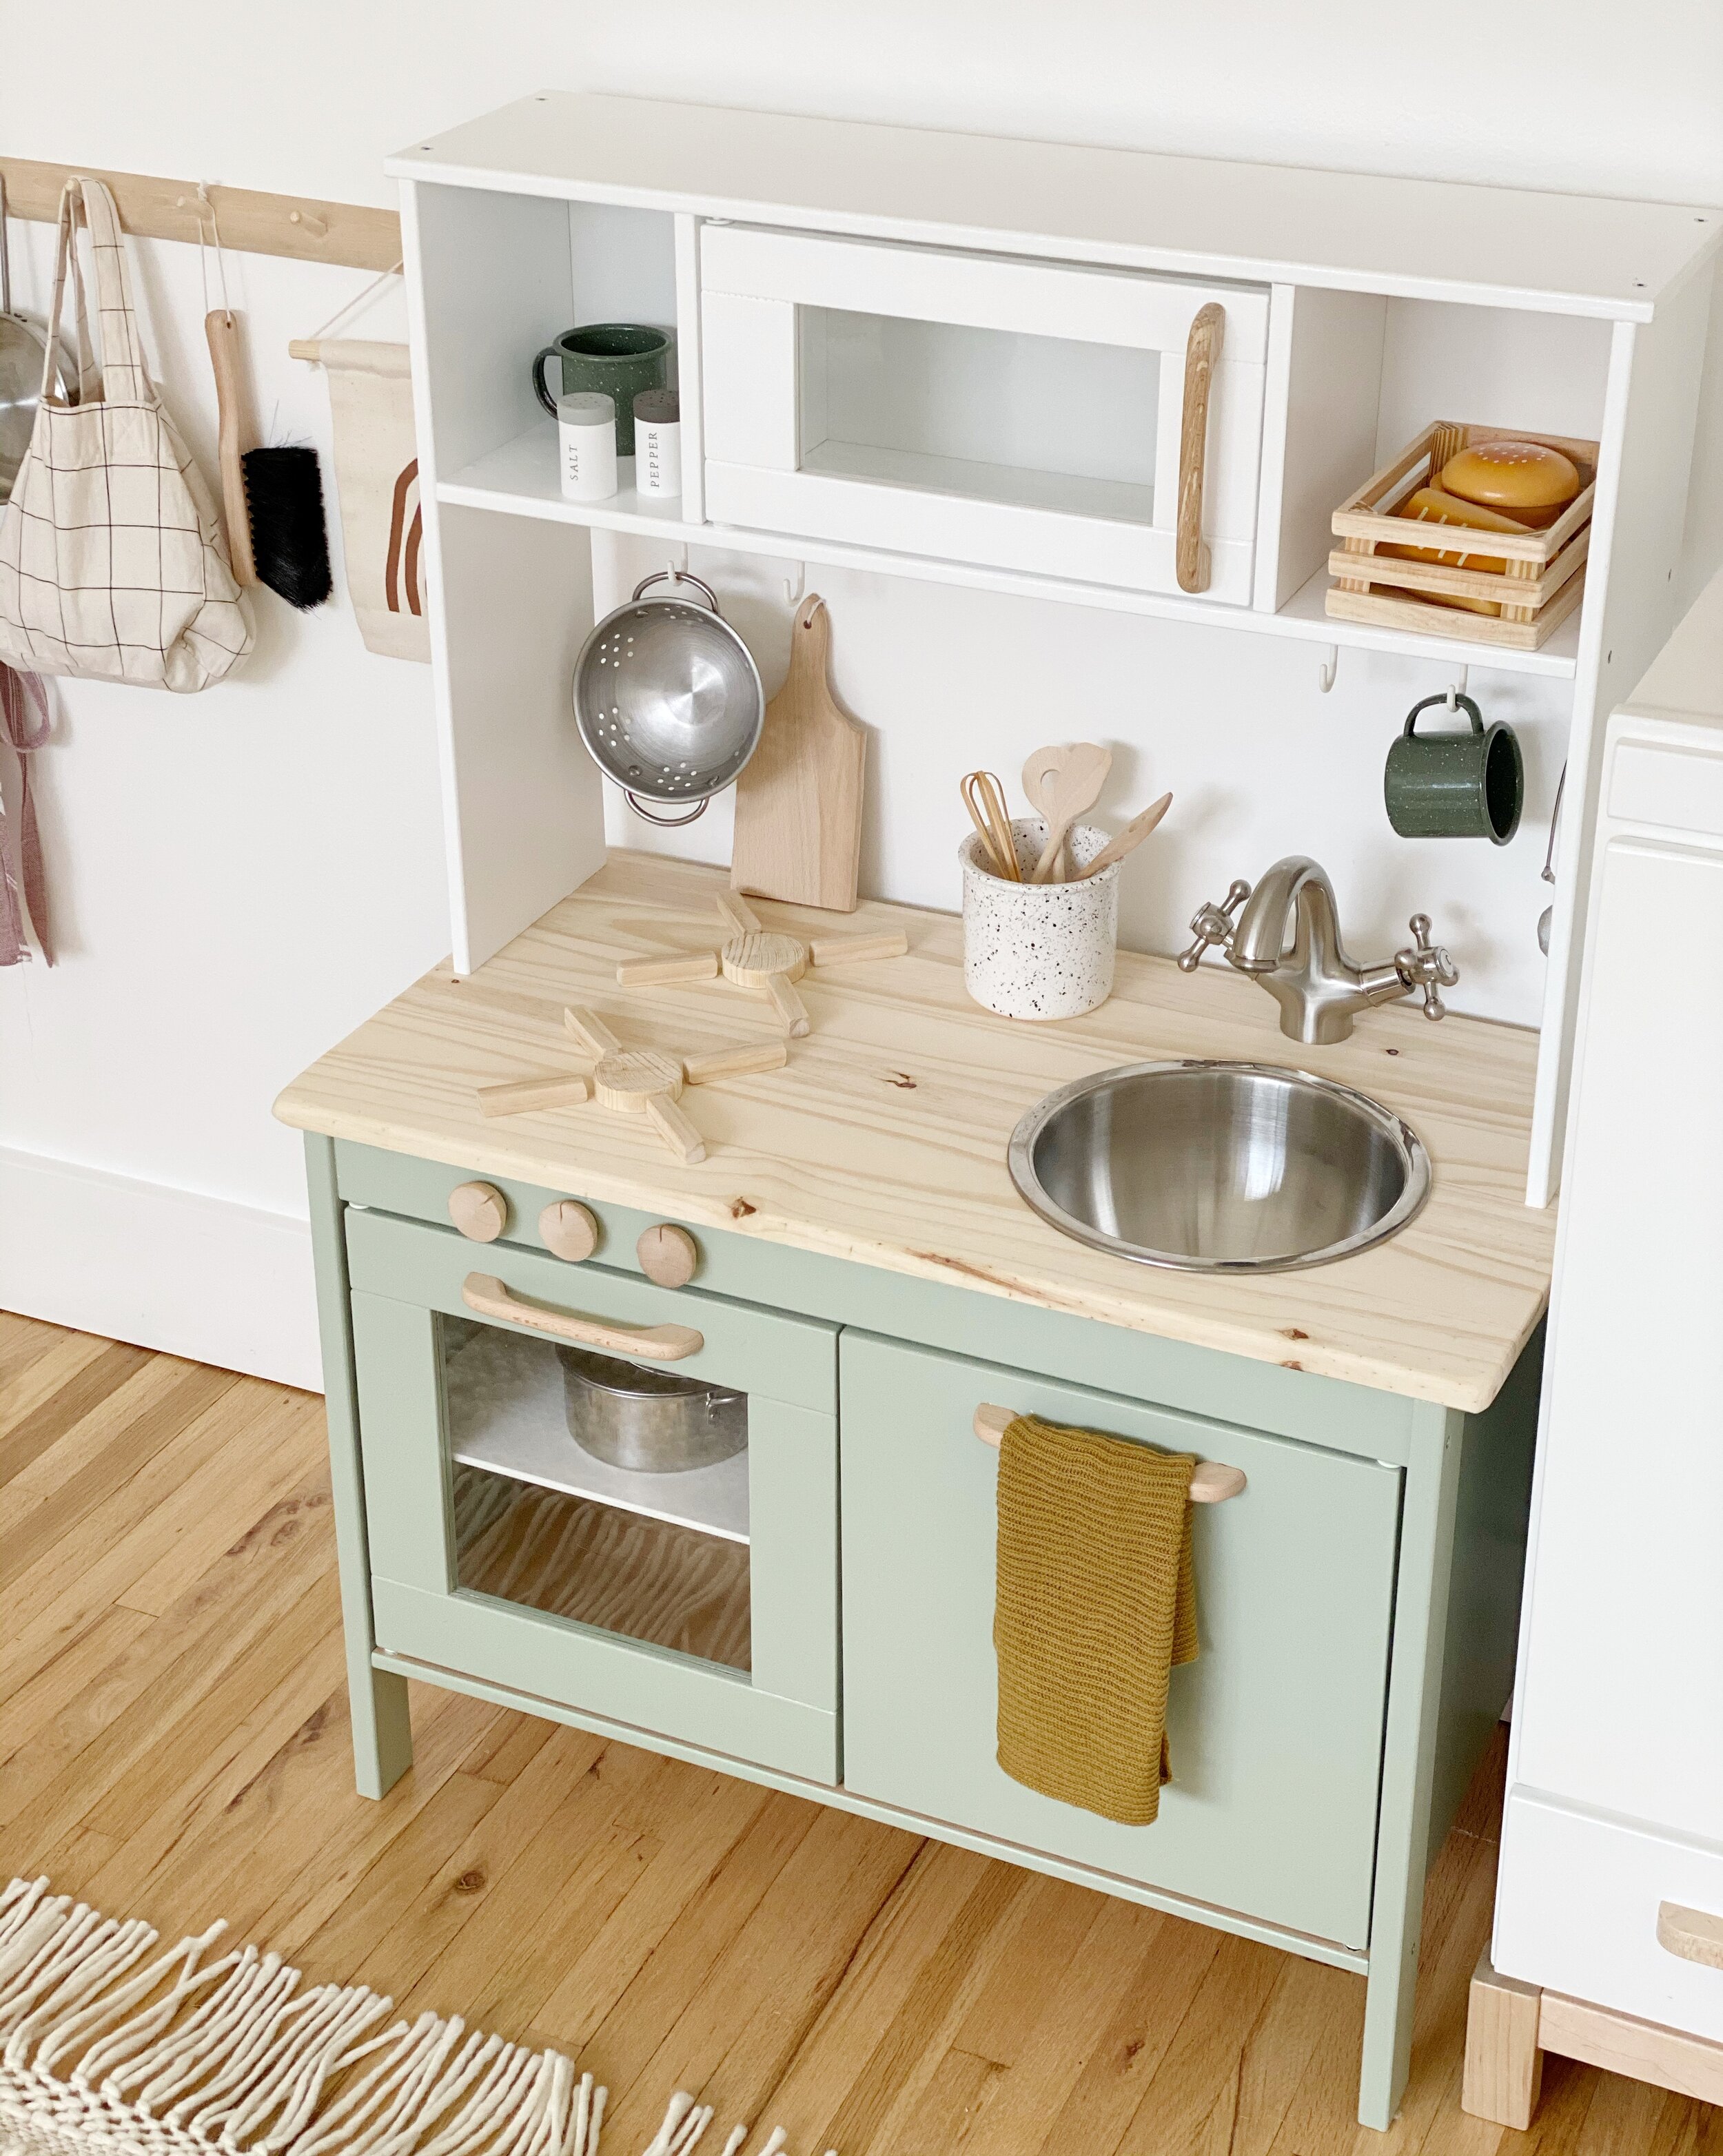
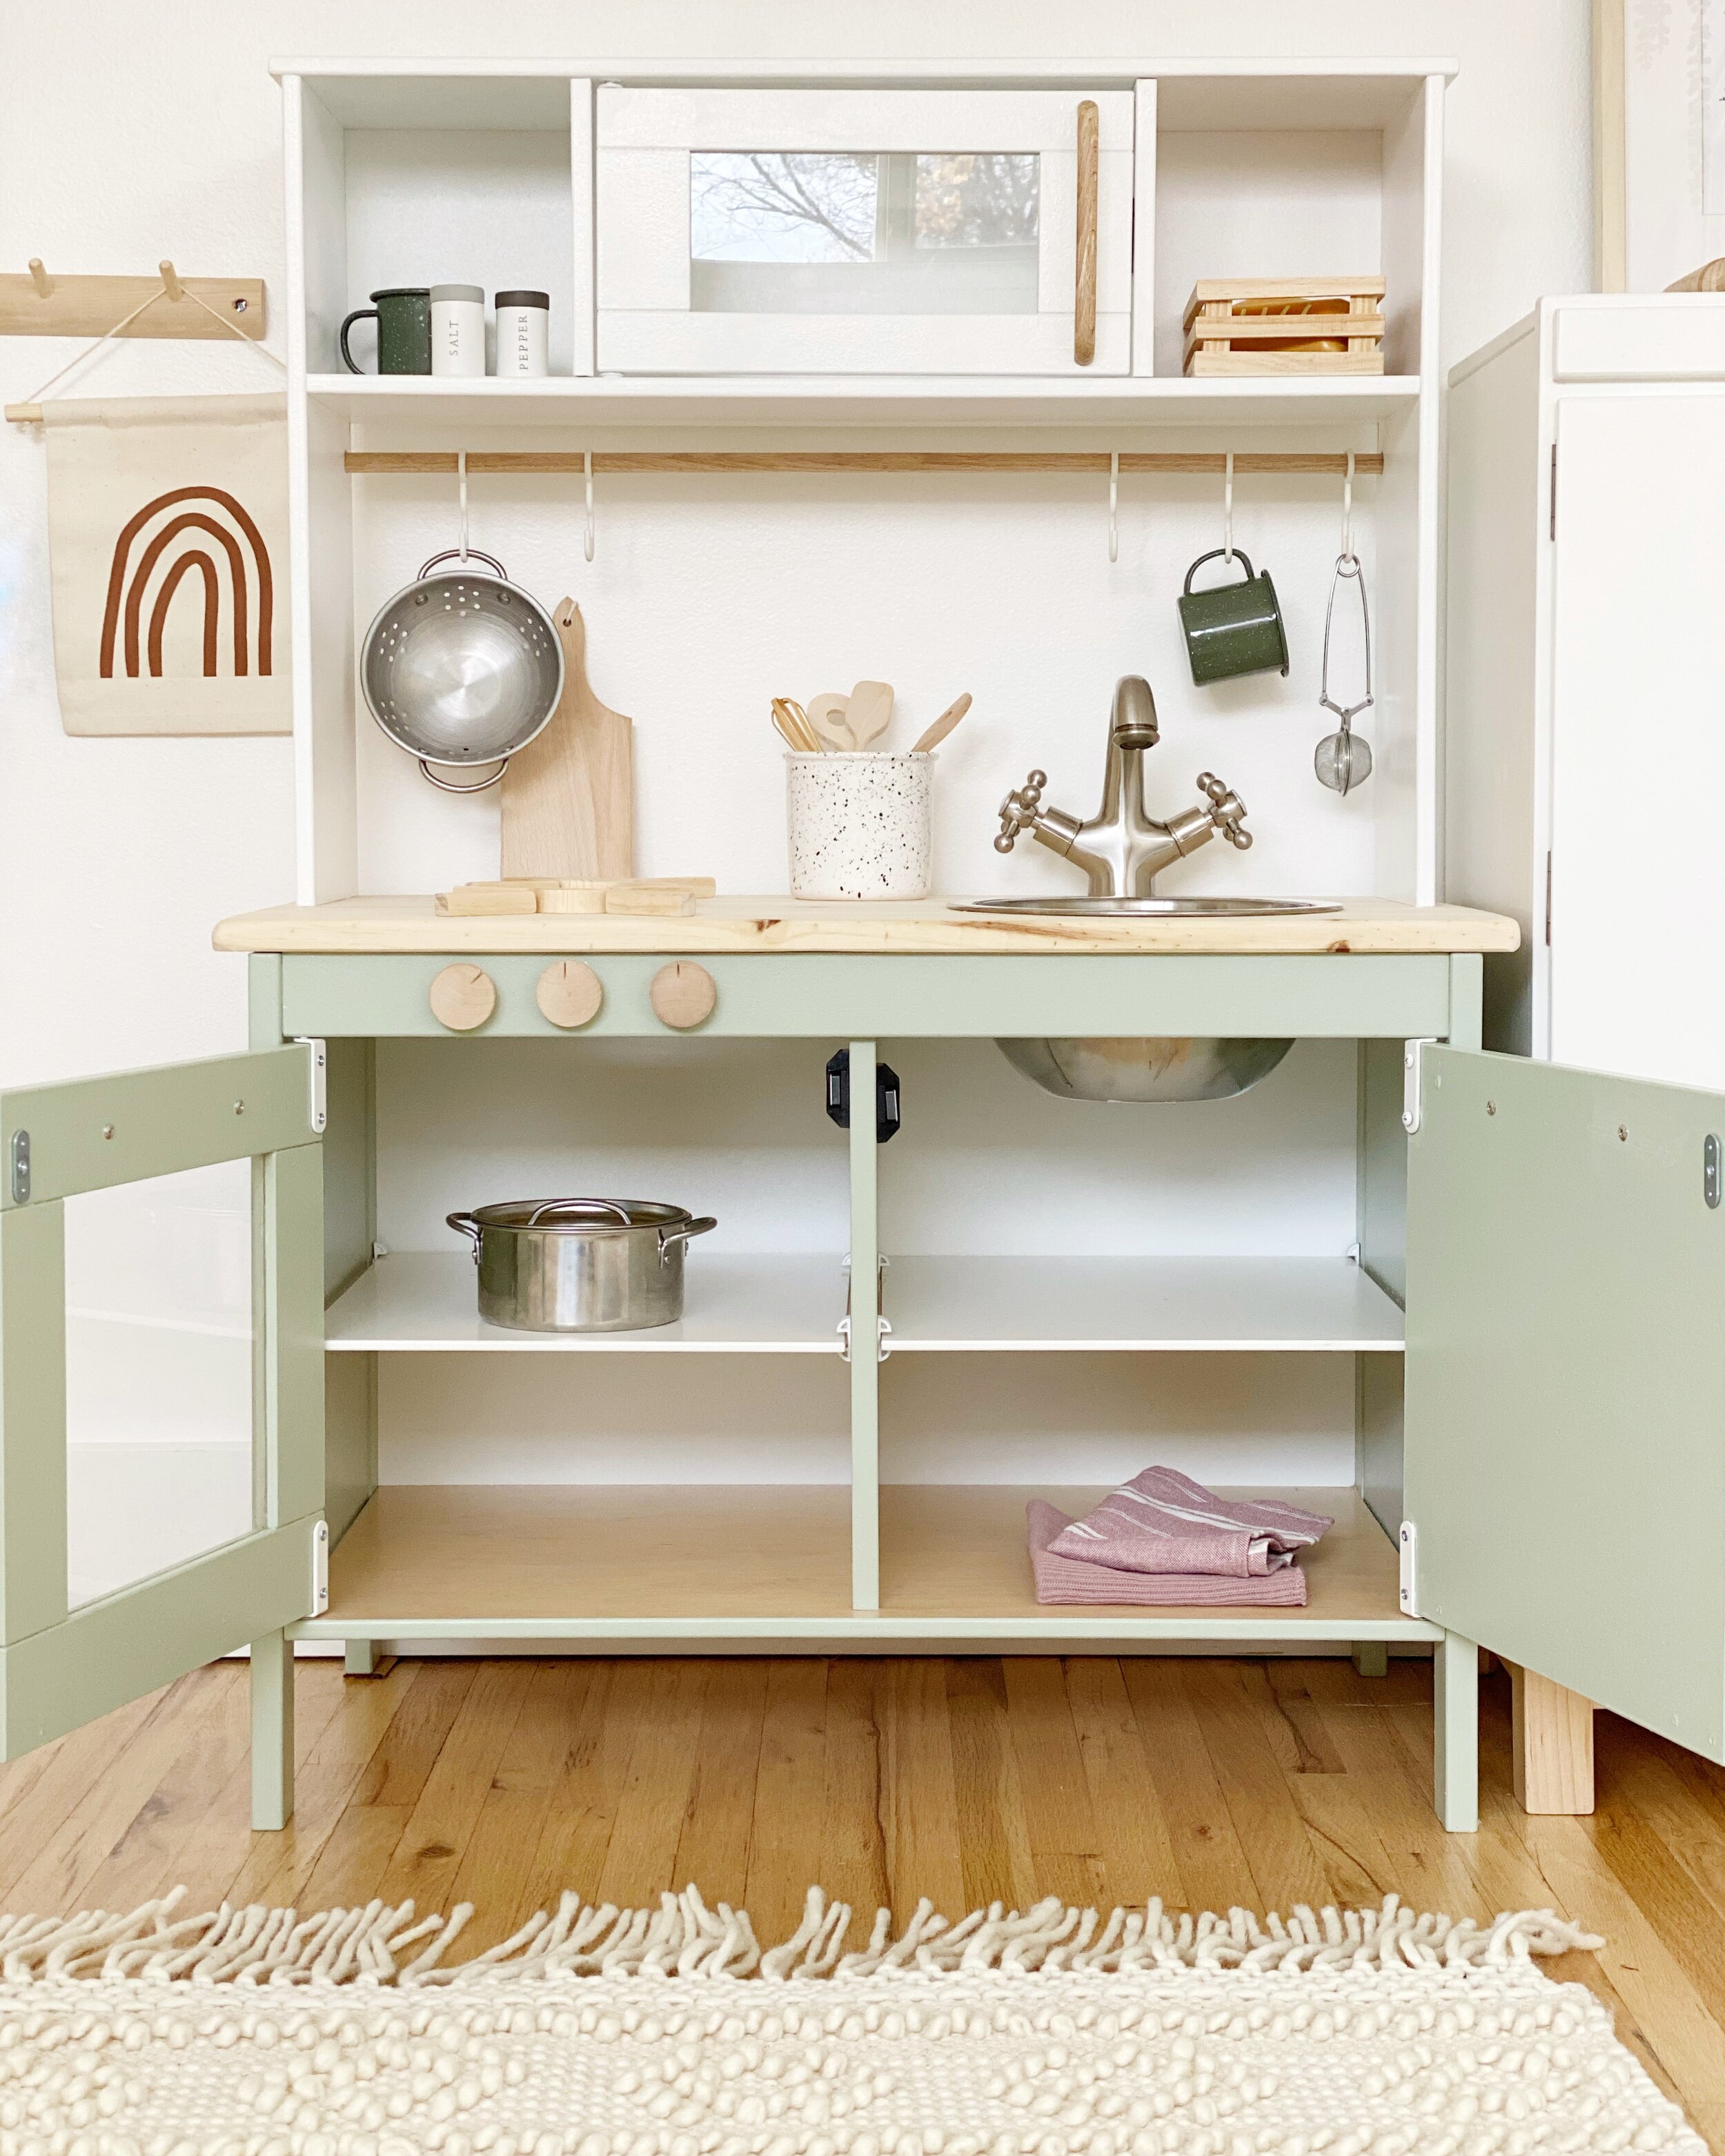
First things first. The primer. The paint has not chipped one bit because I primed every single piece with Kilz. I painted the bottom section Mellow Mood and the top Ultra Pure White (my favorite white).
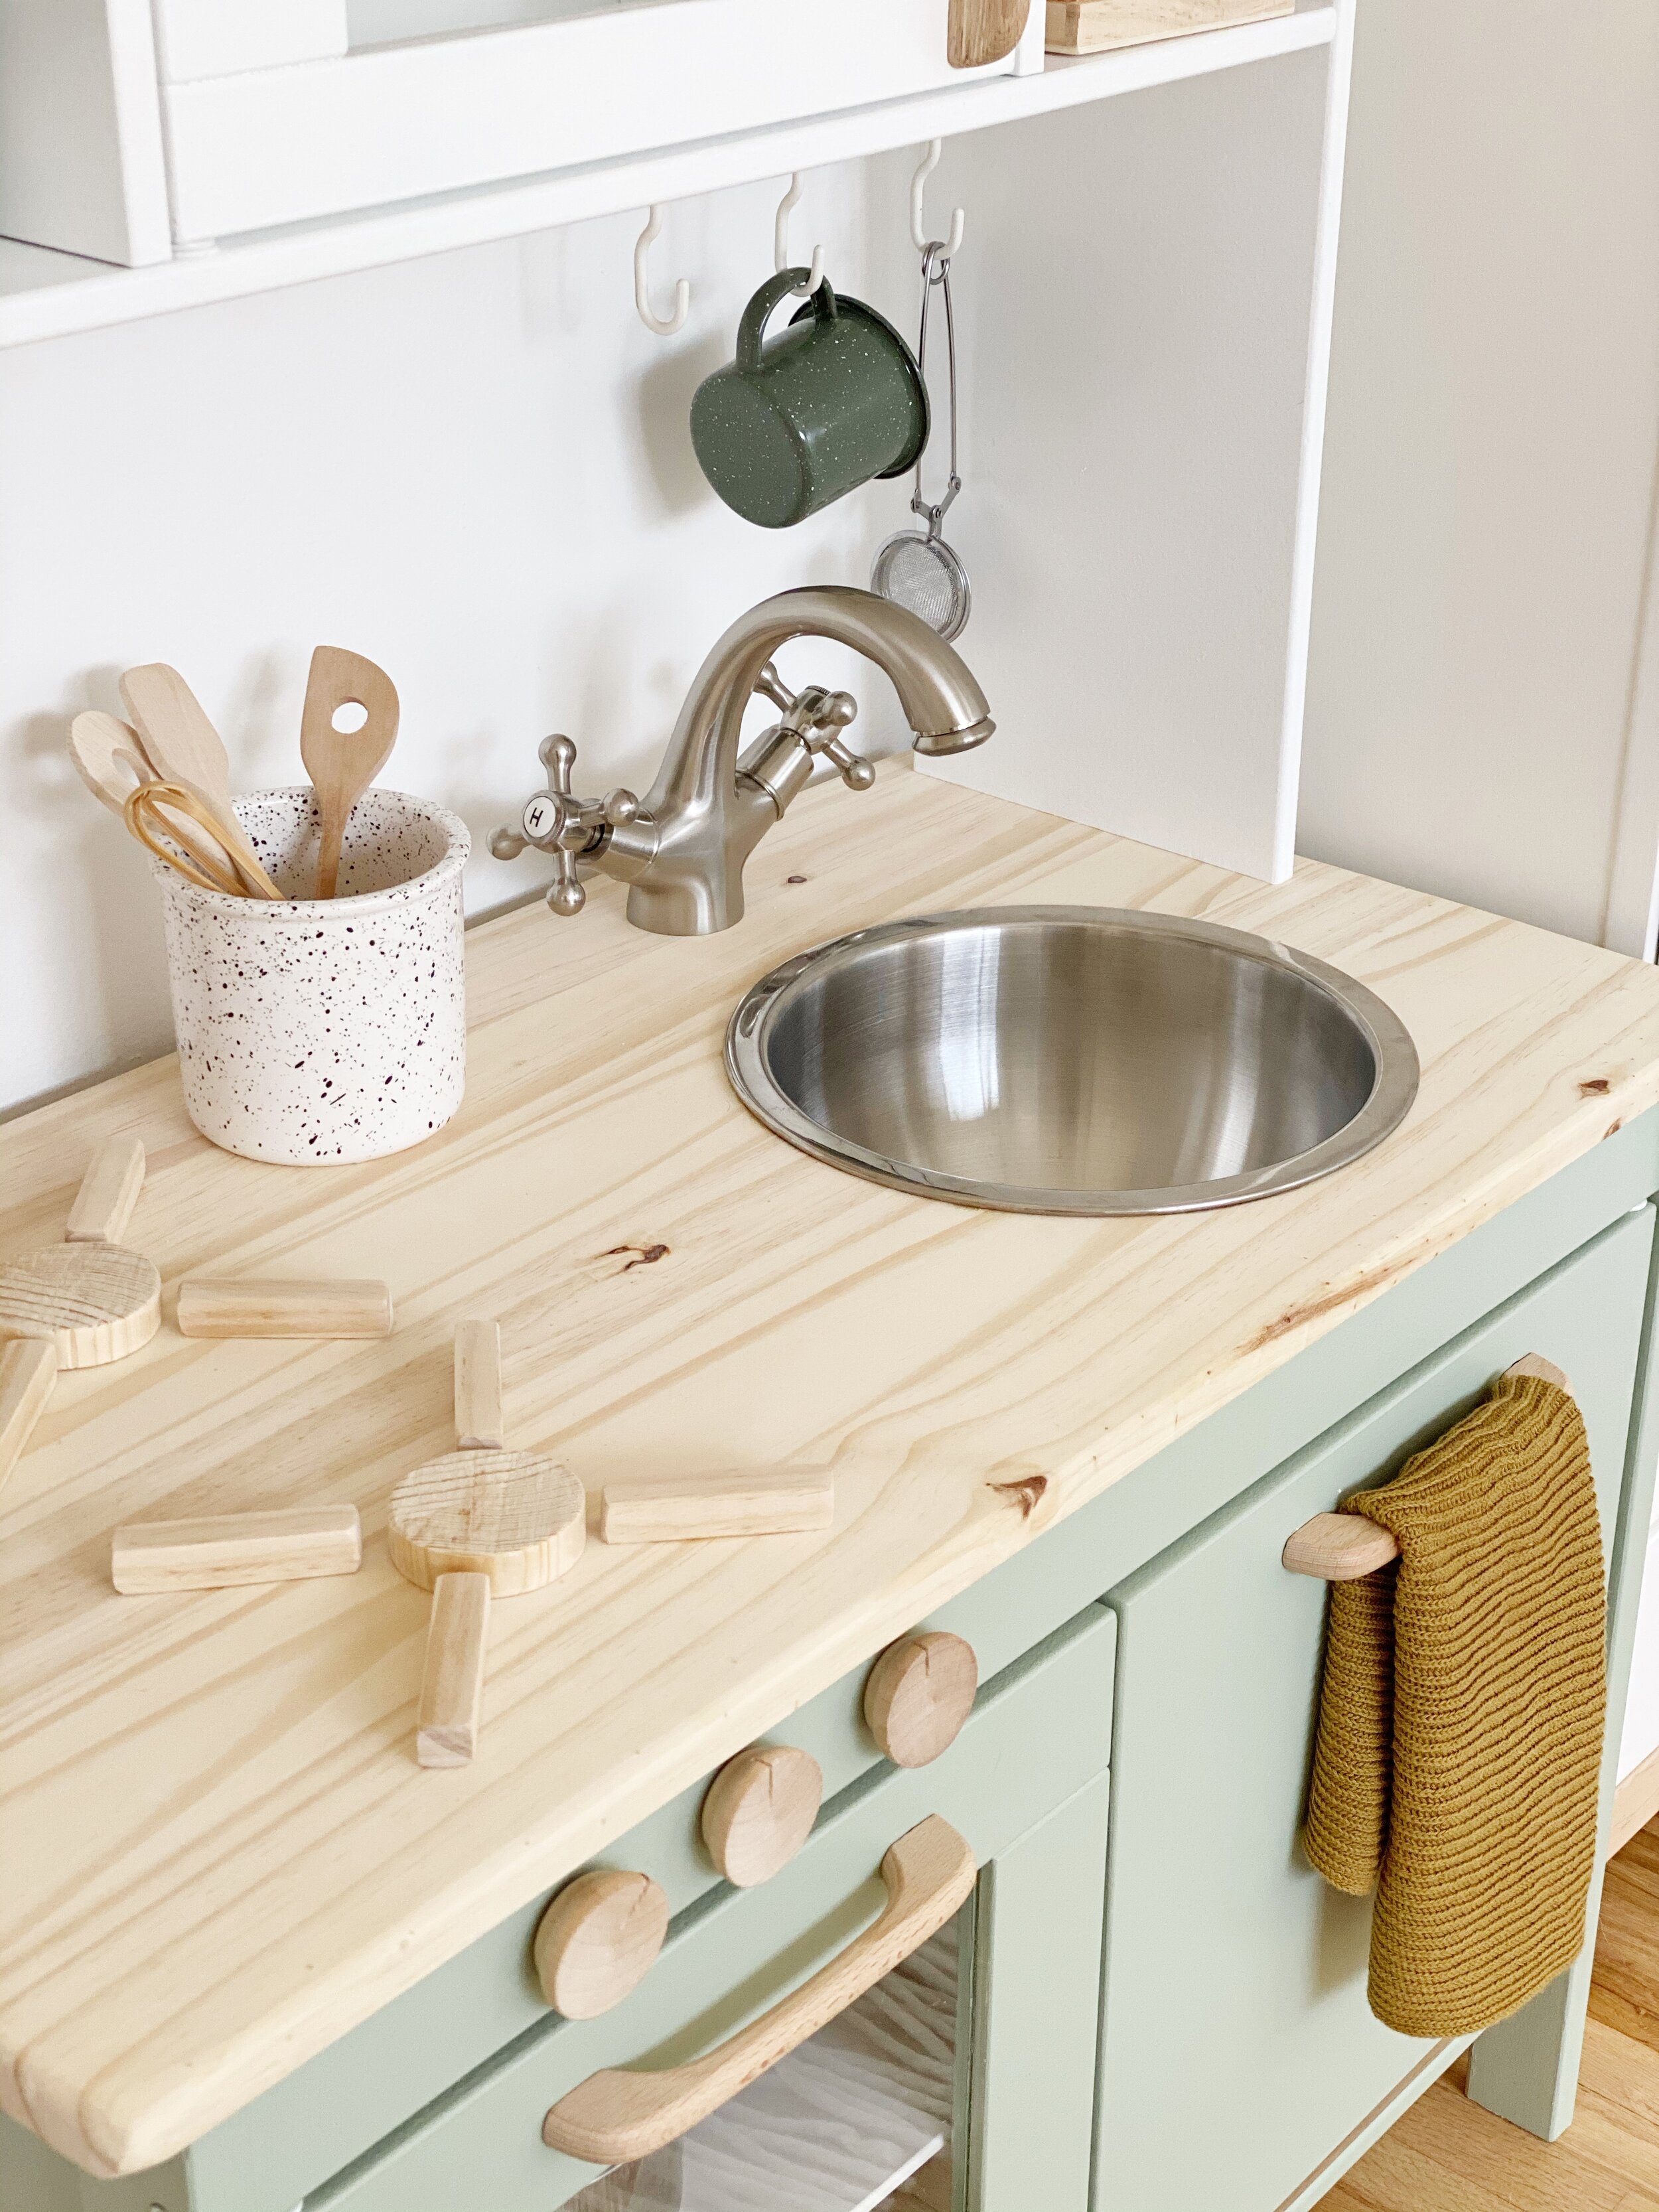
I knew from the beginning I was going to want a “real” faucet. This is what I ended up going with. It’s the perfect size. I know brushed nickel is an unexpected choice coming from me, but I was set on the green color and I thought nickel looked so crisp with it. The sink is unfortunately the only thing I won’t be able to link. It’s just a medium sized mixing bowl with a 1/2 inch rim. The thickness of the rim is important because I wanted to leave room for error when cutting the sink hole in the countertop.
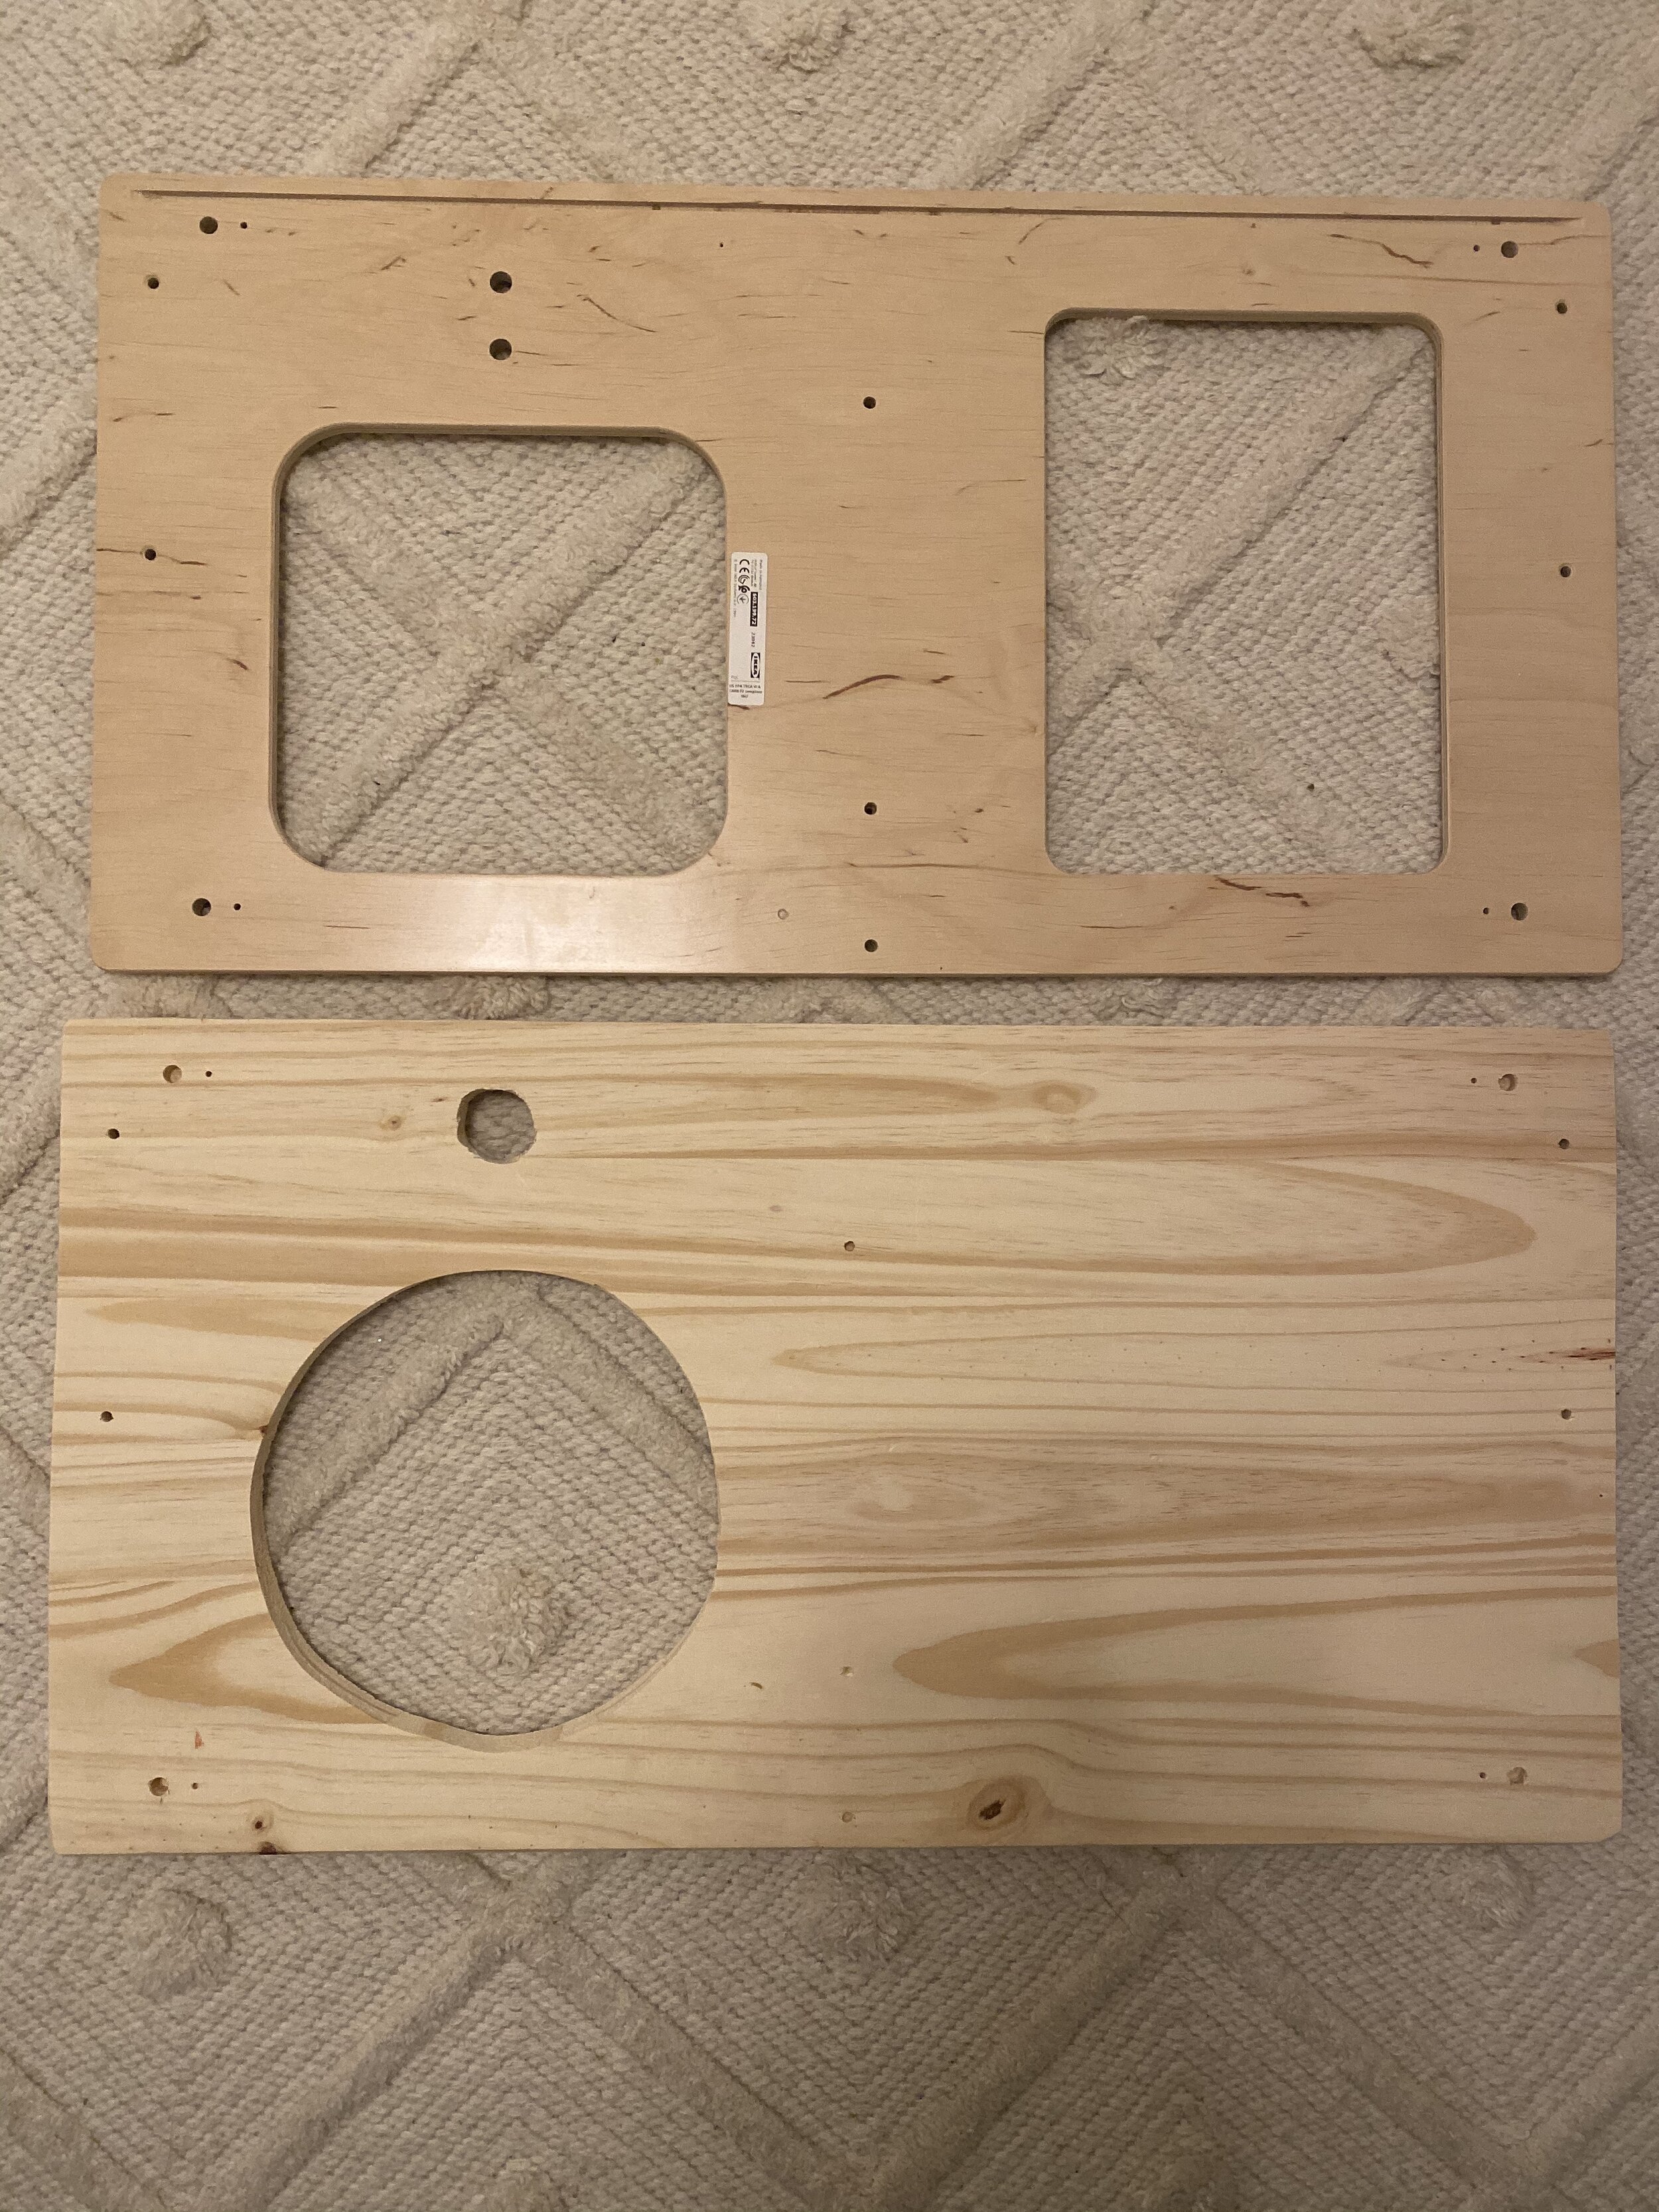
For the countertop, we got a piece of pine, put the Ikea counter piece on top and traced and cut with a jigsaw. We drilled the holes through so they matched up perfectly. We didnt run into a single problem when we assembled it because we very diligently copied every curve and hole.
*posting this dark ugly image so you can see both countertops side by side*
I can’t find specific links for the hanging rod and stove pieces, but basically I went to Home Depot and looked at all of their trim pieces, played around a little and figured out what I liked best. I showed exactly what I got in my kitchen highlight, so go there if you haven’t yet!
This is what I used to make the knobs. I just cut a little notch with a jigsaw and attached with a screw coming in from the back. Surprisingly, the biggest question i’ve gotten so far is about the wooden pulls. Here they are. They aren’t perfect. The pre-drilled Ikea holes were quite large, and these barely miss covering all of it. A sliver of hole shows. It won’t bother most people... It bothered me. I filled the holes with drywall putty and don’t regret the extra work.
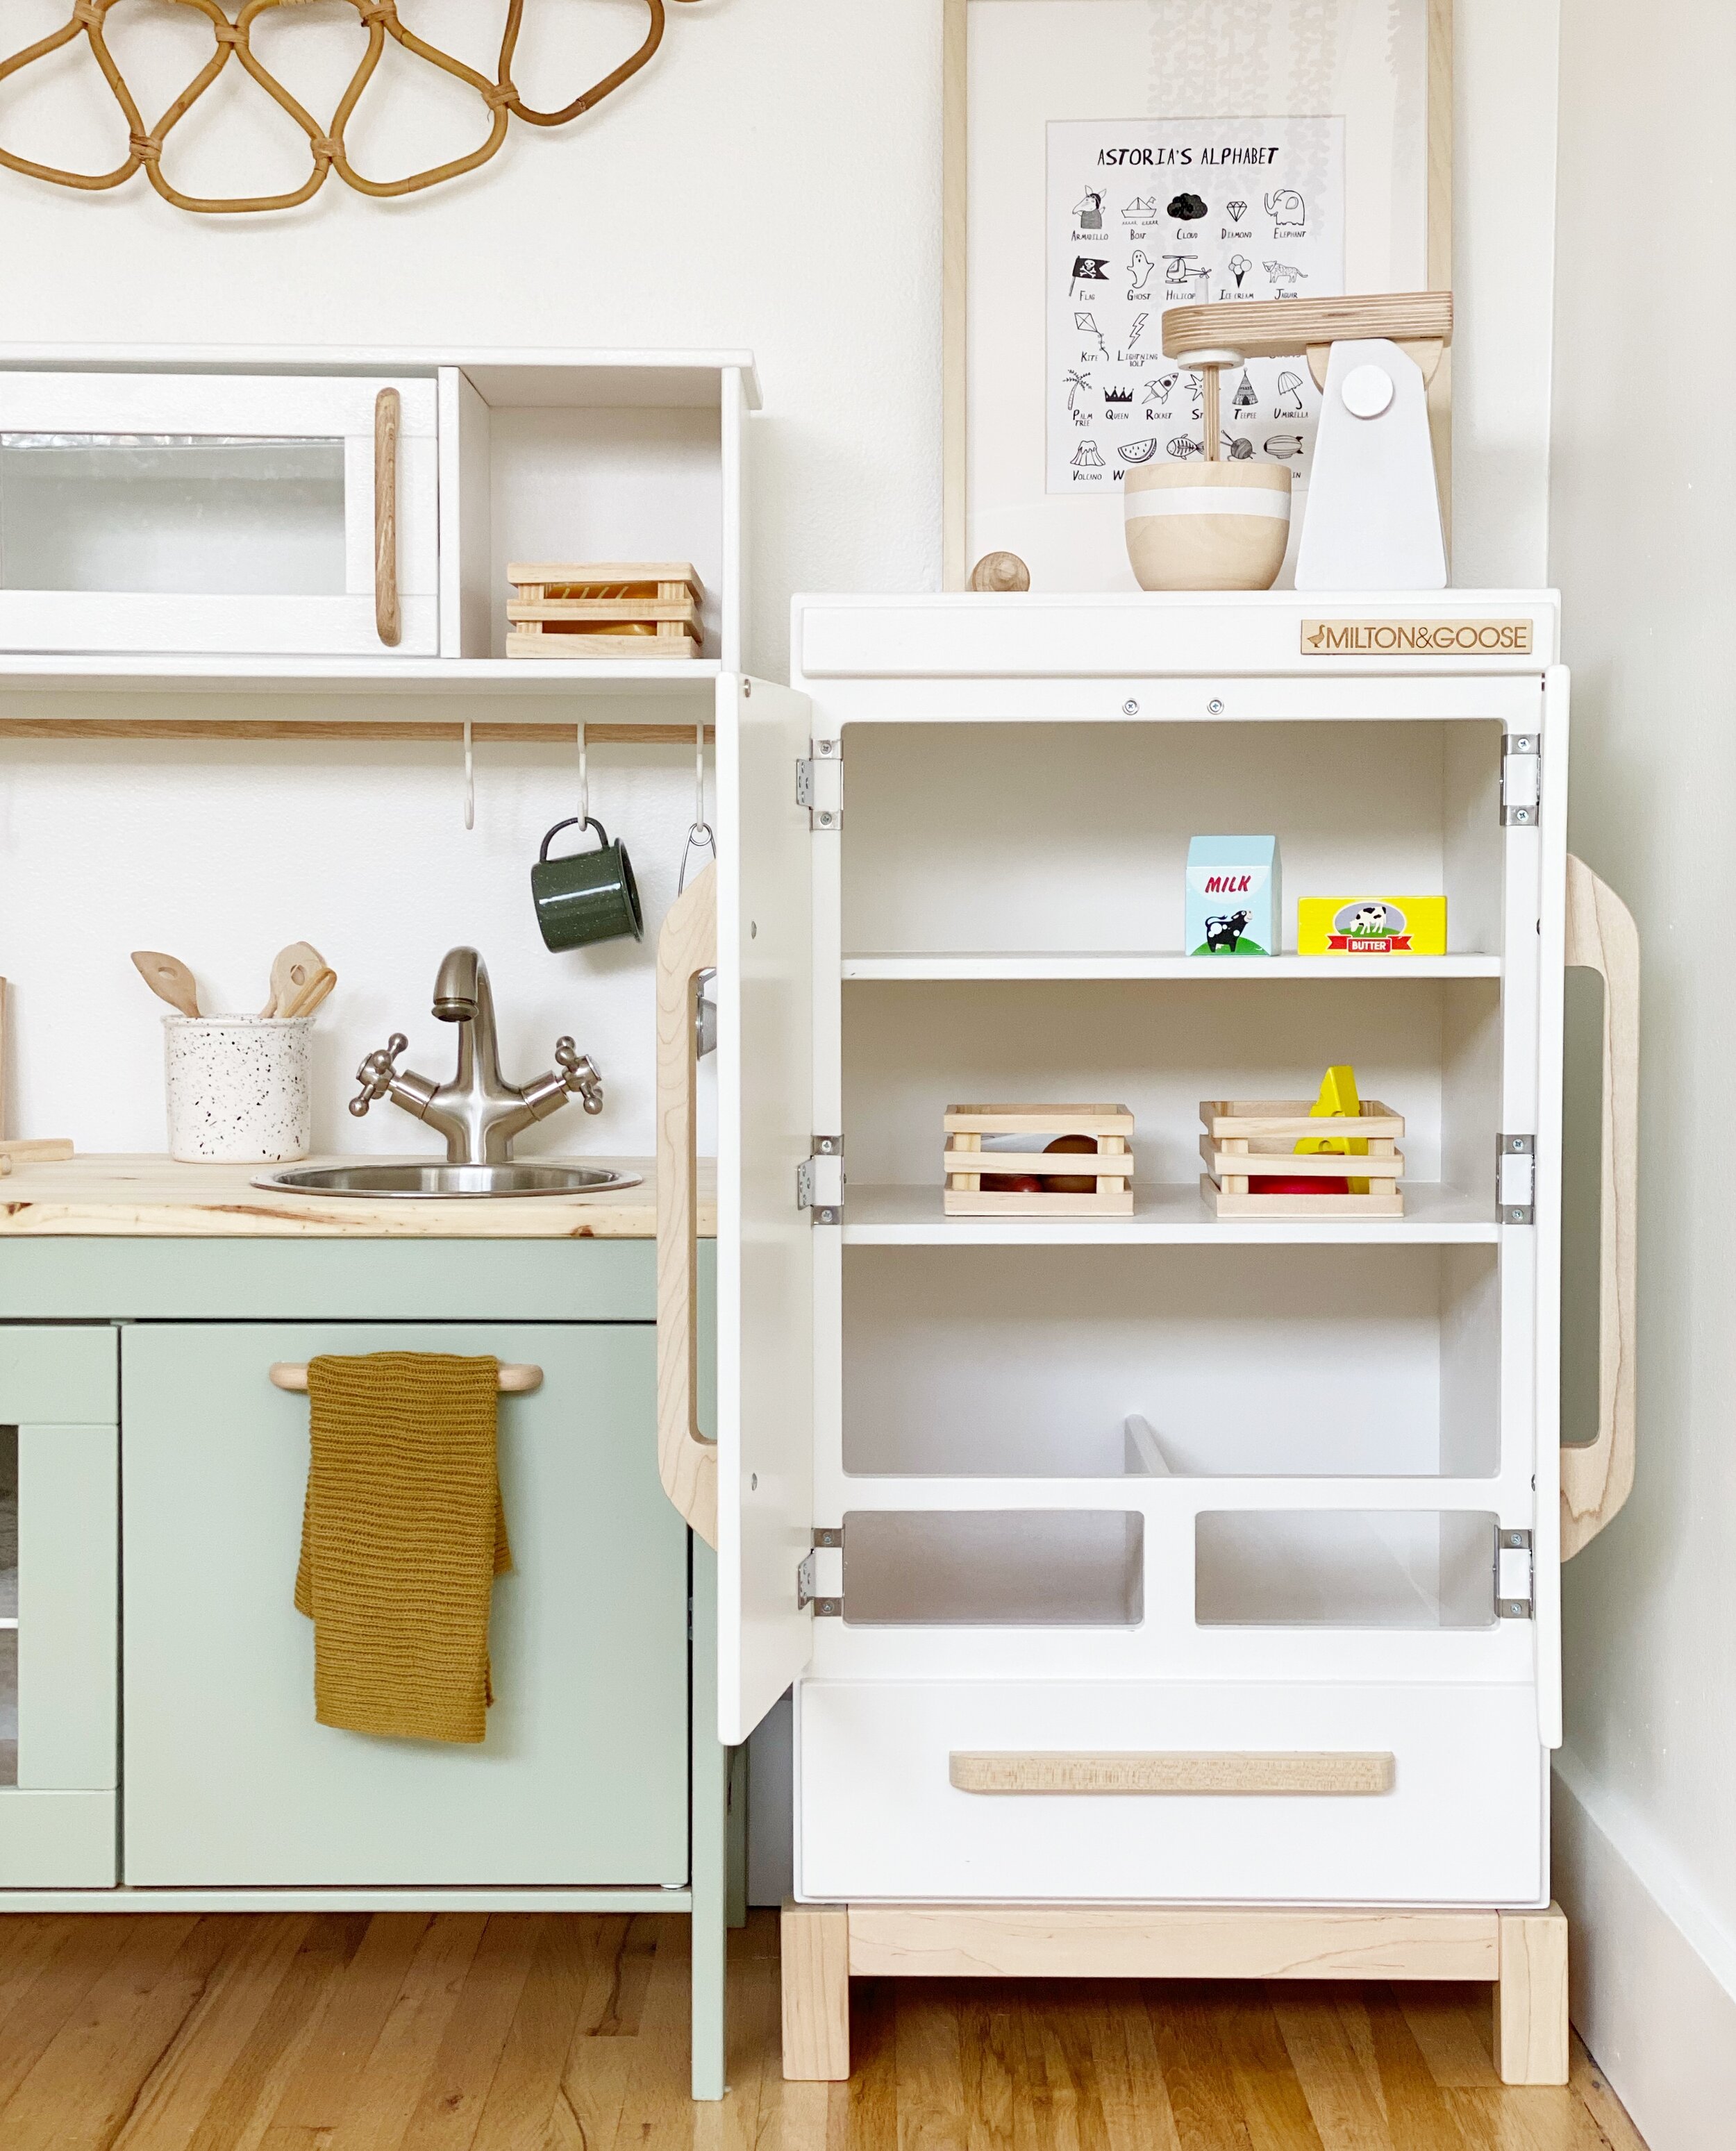
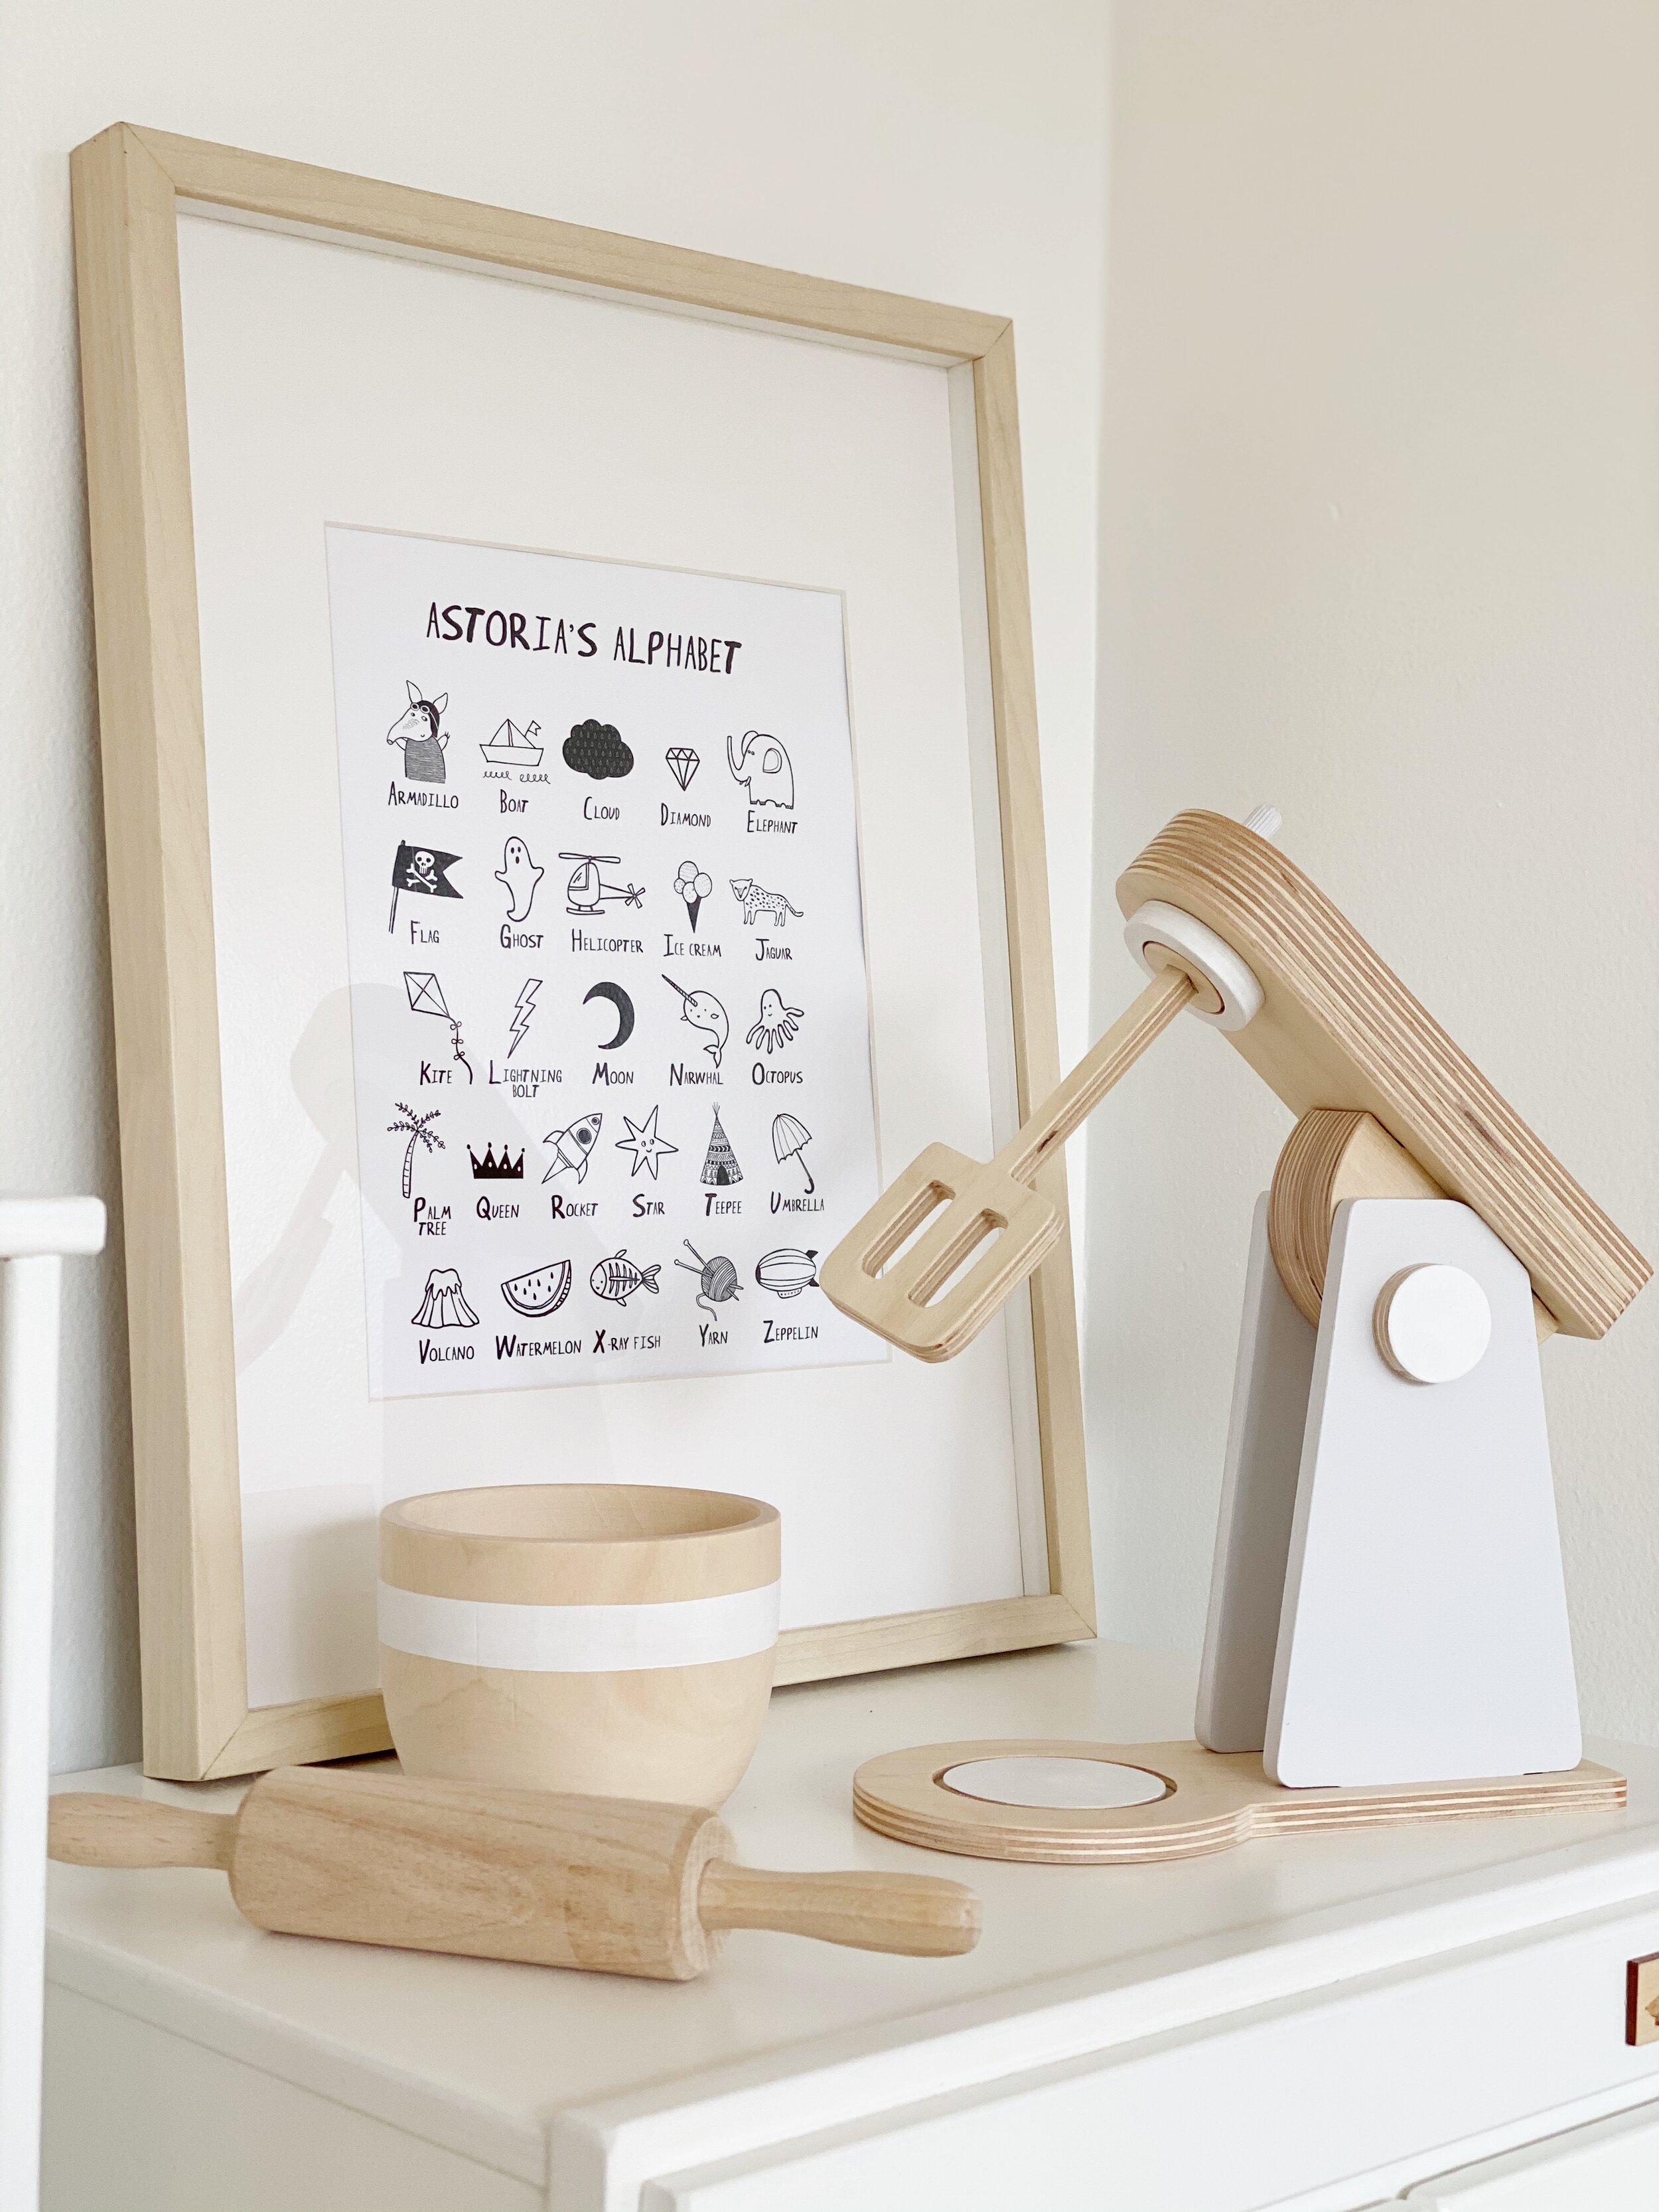
Another huge question i’ve been getting is where all of the accessories are from. We went to Amsterdam in September and I spent literally half the trip shopping for play kitchen accessories- not joking. I bought two small things for myself (a throw and a colander) and the rest of the suitcase was jam packed with kitchen accessories and clothes for Story haha! Most of the things you see here are from Sostrene Grene or Dille & Kamille . They are the cutest shops and are worth an extra-long layover in Amsterdam. Both are a 5- 10 minute walk from Amsterdam central station. If you can only make it to one, do Sostrene Grene. I did mini tours of the stores and went in depth about what I bought from where in my “Amsterdam” and “kitchen” highlights.
I hope you guys enjoyed this! I really loved making this kitchen! It consumed so much of my thoughts I don’t know what to do with myself now haha. Probably a play house? A new real house? Time will tell!
